

🏍️ Budget Streetfighter Build Plan: How to Turn a Naked Bike Into a Clean Custom
A practical budget streetfighter build plan for riders who want a sharper naked bike without wasting money on random parts.
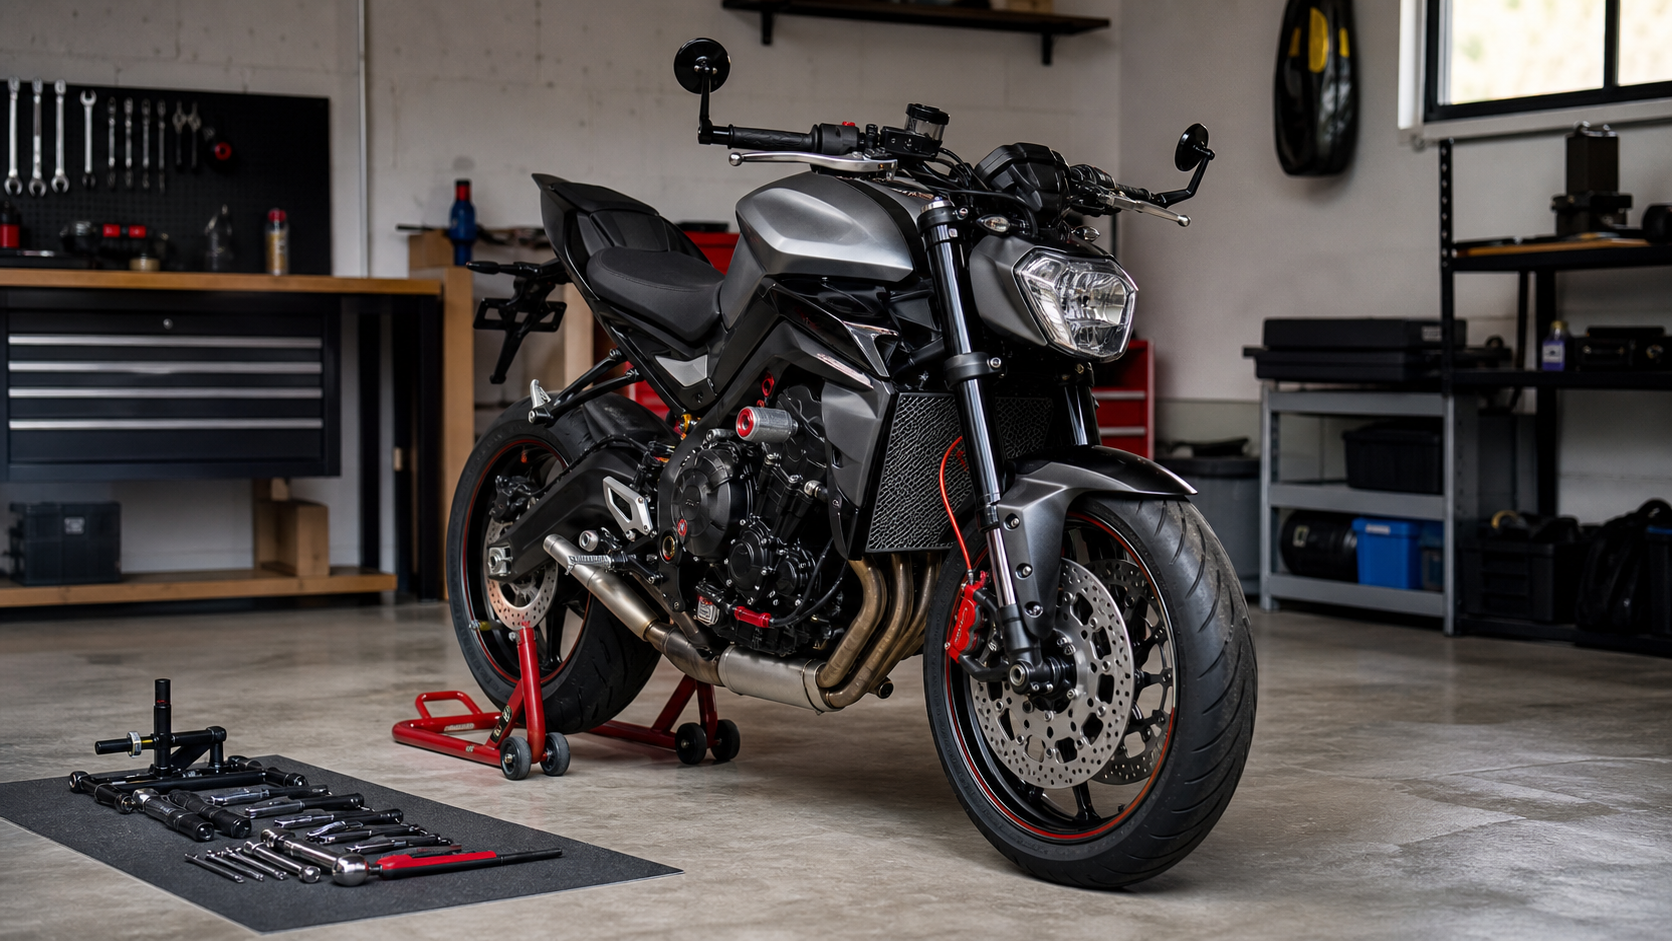
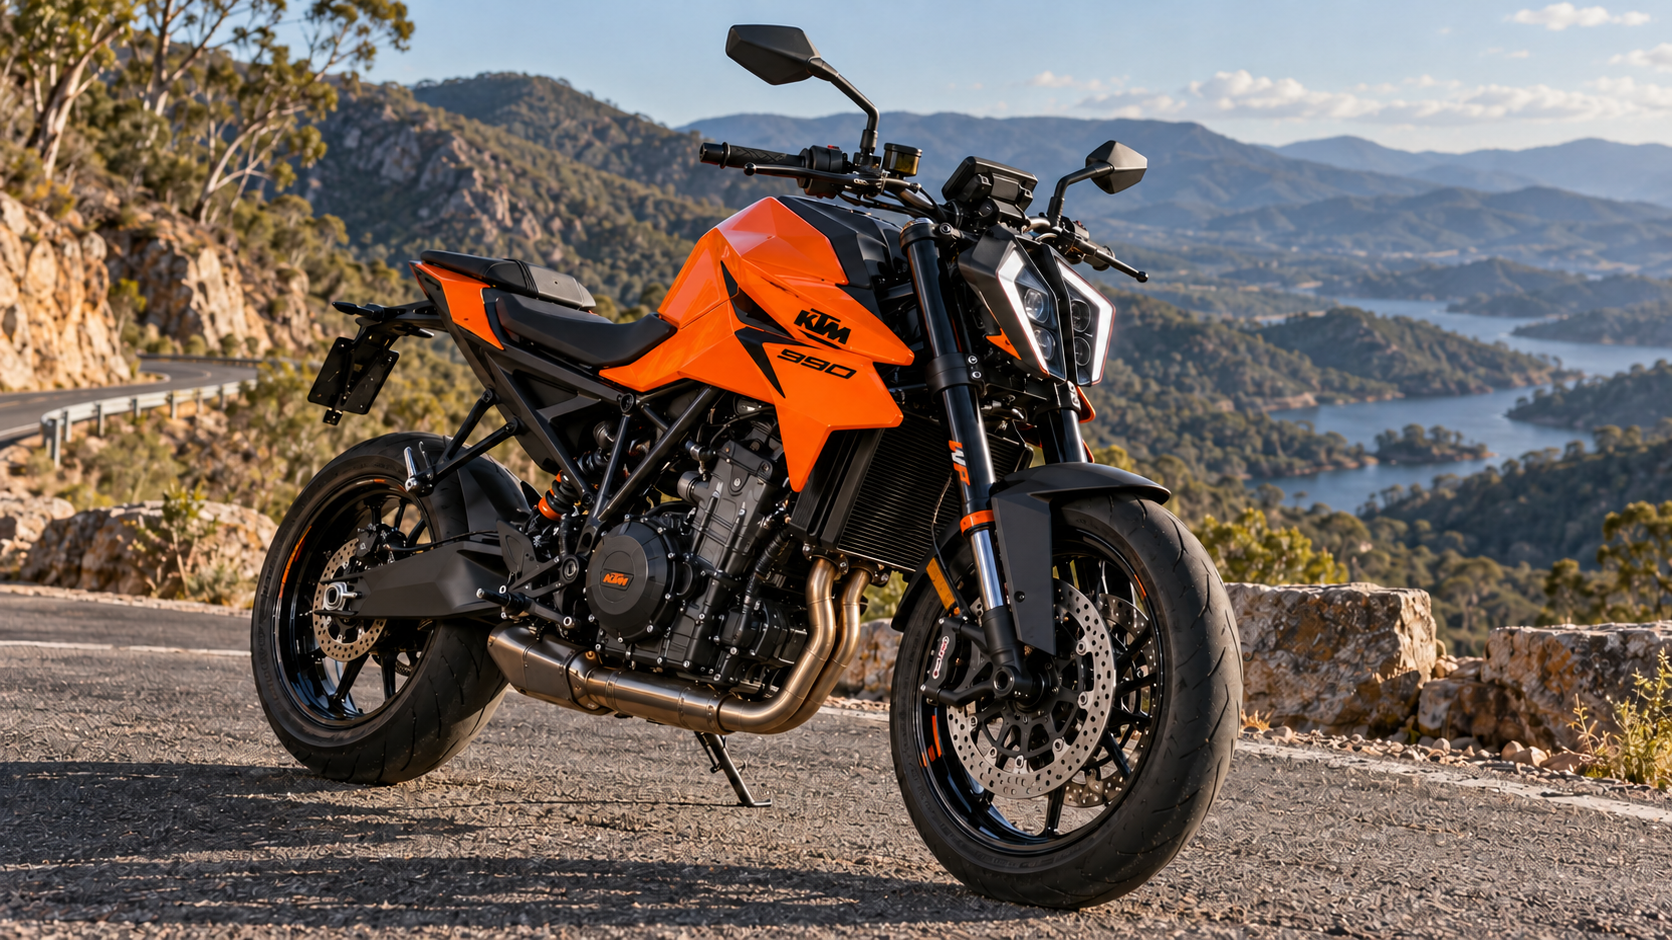
A good streetfighter build does not need to start with a full teardown, a wild paint job, or a pile of parts you bought at midnight. The cleanest builds usually come from a simple plan: sharpen the silhouette, protect the bike, improve the cockpit, then add sound and detail once the basics are sorted.
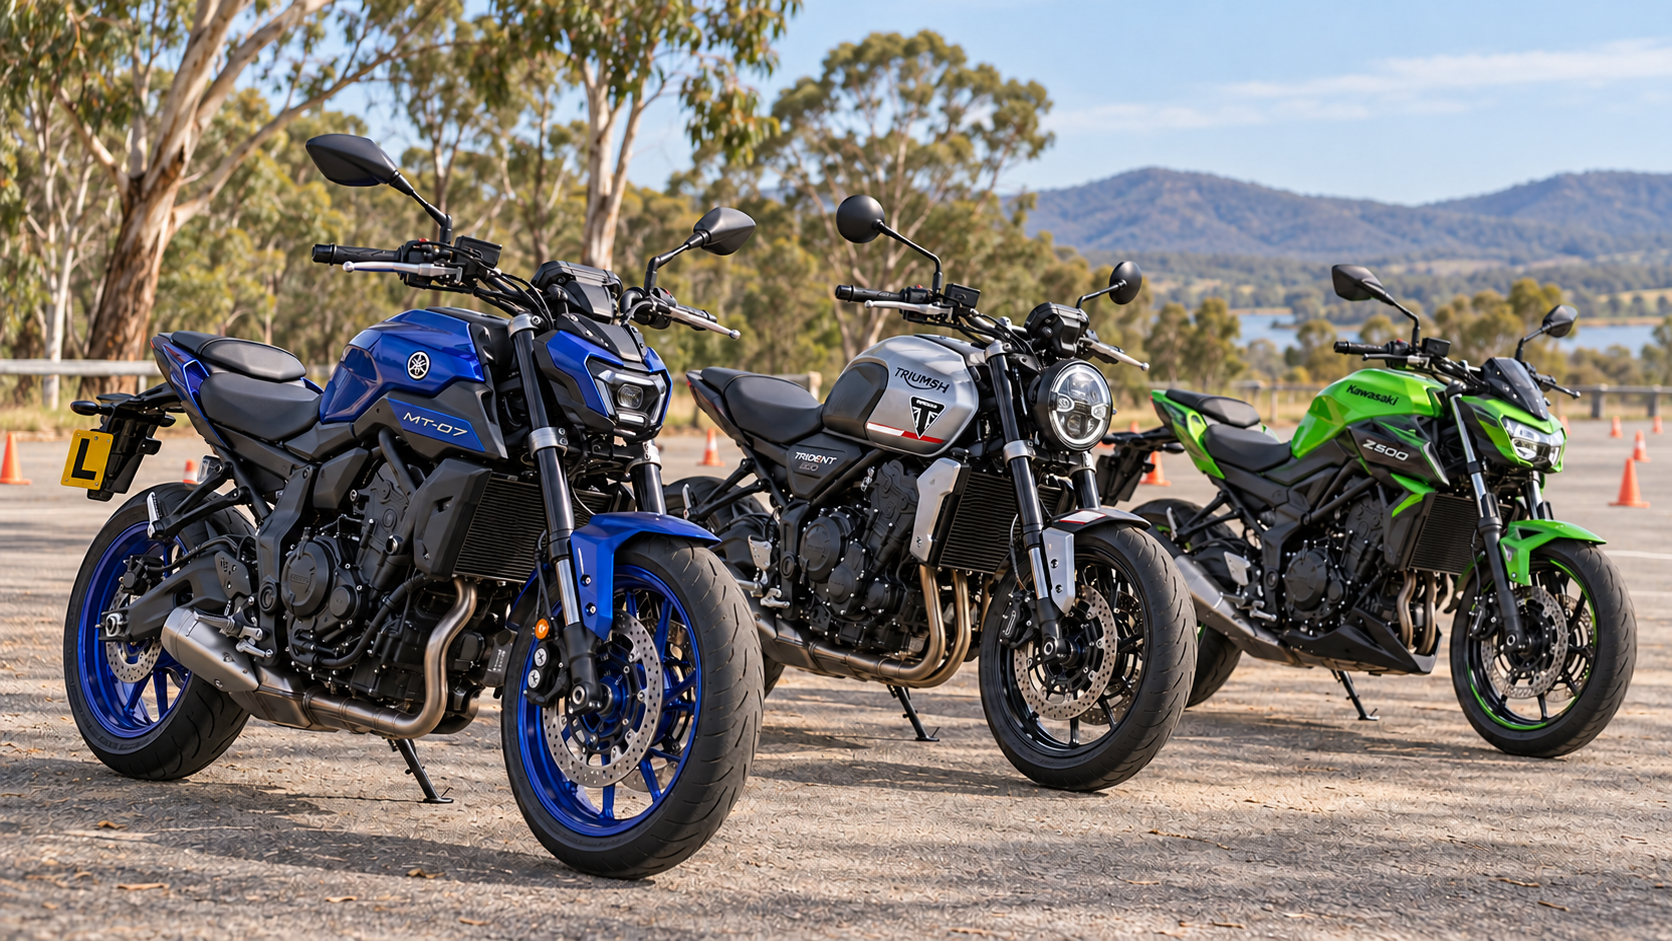
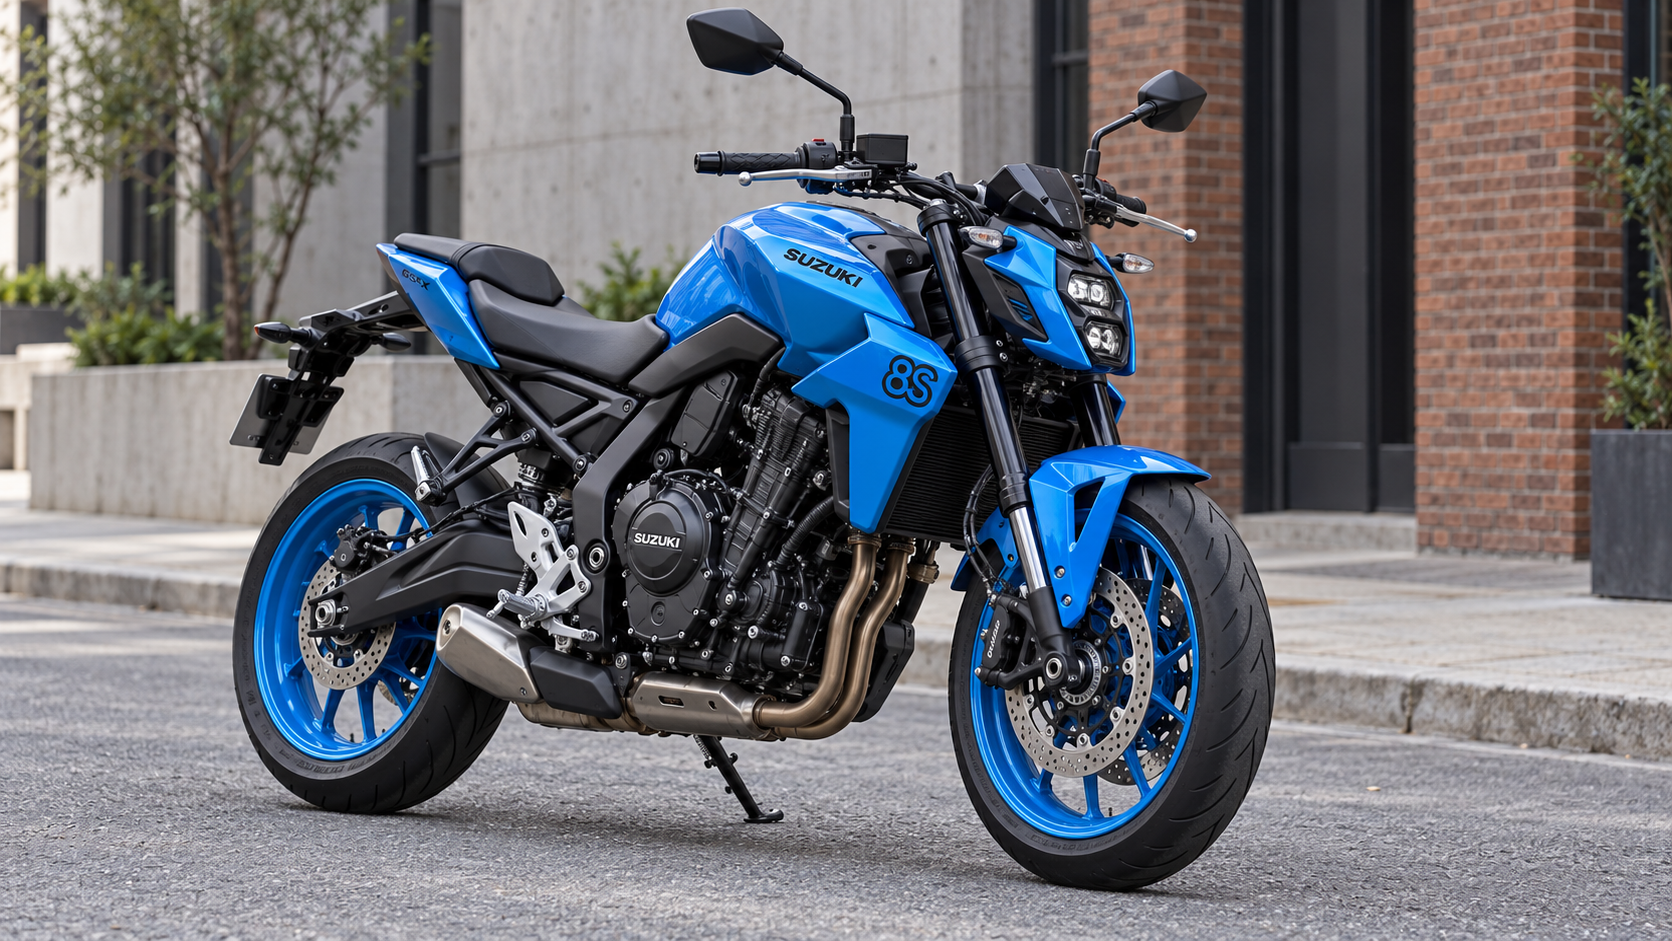
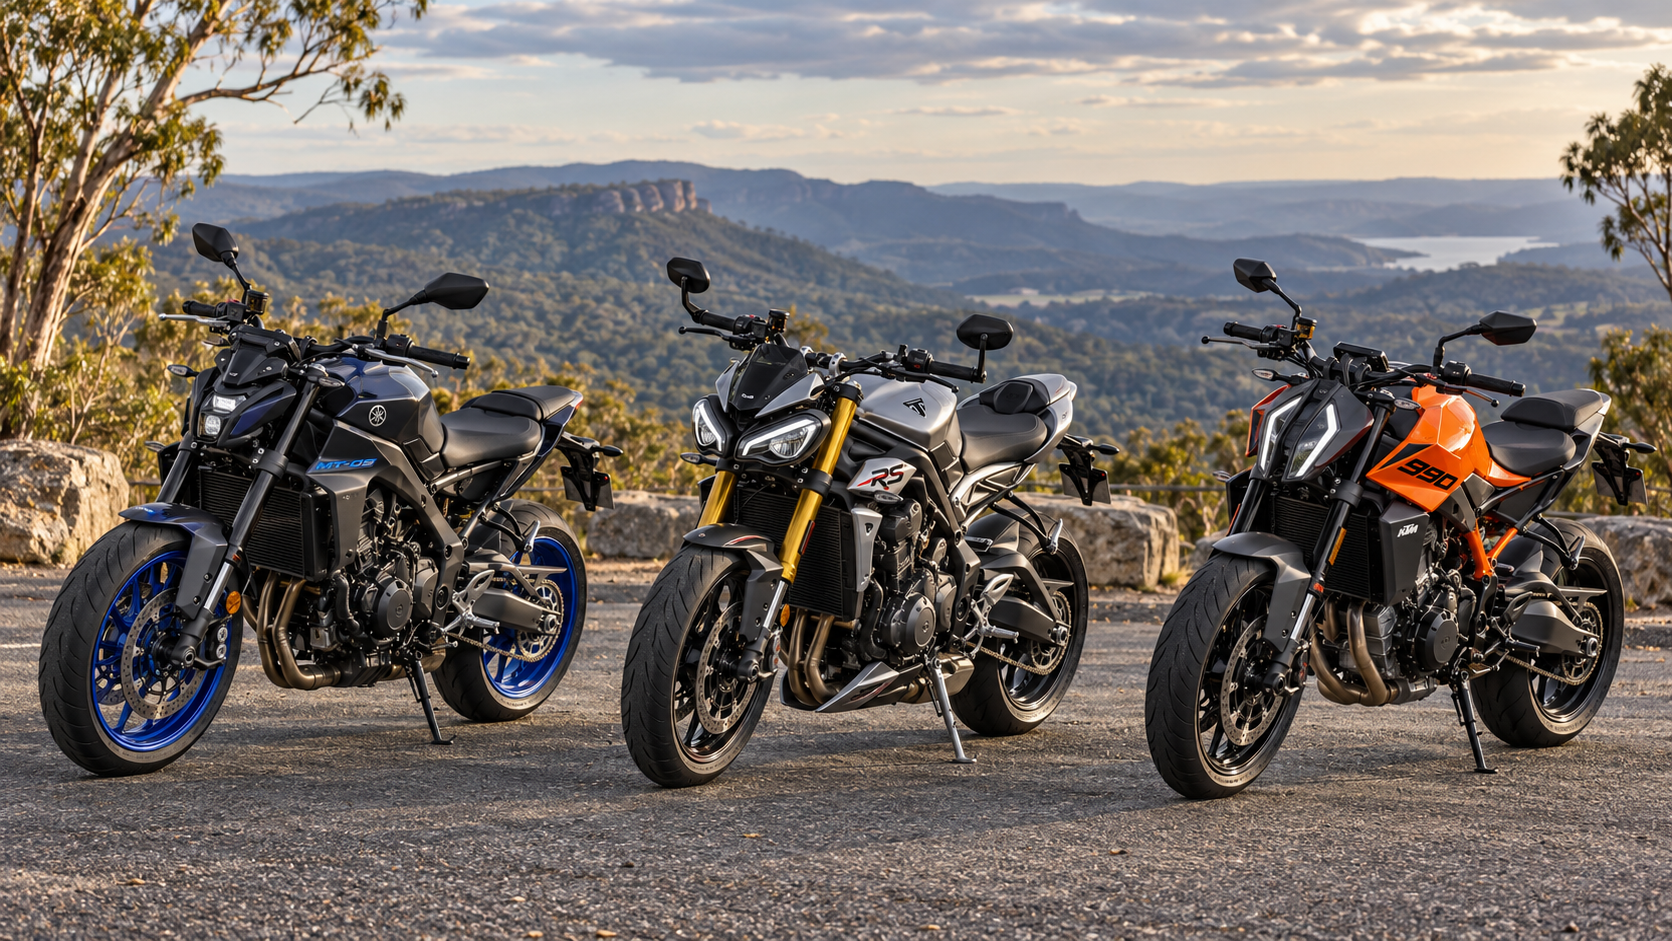
Whether you are starting with an MT-07, Z650, CB650R, SV650, or another naked bike, this budget-friendly path gives you a custom look without turning your garage into a long-term storage unit.
🔧 Stage 1: Clean the Rear End
Start with the part everyone sees first: the tail.
A tail tidy kit or fender eliminator removes the bulky factory plate hanger and gives the bike that short, aggressive rear profile. Pair it with compact LED indicators and a legal plate light so the bike still works properly on the street.
Worth doing first:
- Tail tidy kit
- LED plate light
- Smaller rear indicators
- Fresh hardware if the factory bolts look tired
💡 Pro tip: Check your local plate angle and indicator spacing rules before drilling anything.
🪞 Stage 2: Fix the Cockpit
The bars are where the bike starts to feel like yours. A few small cockpit changes can make a stock naked bike feel sharper every time you swing a leg over it.
Best cockpit upgrades:
- Bar-end mirrors
- Adjustable levers
- Fresh grips
- Phone mount or compact dash mount
- Short wind deflector if you do highway miles
Do not chase looks only. Make sure the mirrors actually show traffic, the levers fit your hand, and the grips do not buzz your palms numb after twenty minutes.
🧱 Stage 3: Add Protection Before Performance
Frame sliders, axle sliders, radiator guards, and engine covers are not glamorous, but they are smart. One parking-lot drop can cost more than the whole first stage of your build.
If you are new to riding or commuting daily, protection parts should come before loud exhausts and flashy trim.
Priority list:
- Frame sliders
- Radiator guard
- Front and rear axle sliders
- Engine case covers
🔊 Stage 4: Sound, Weight, and Feel
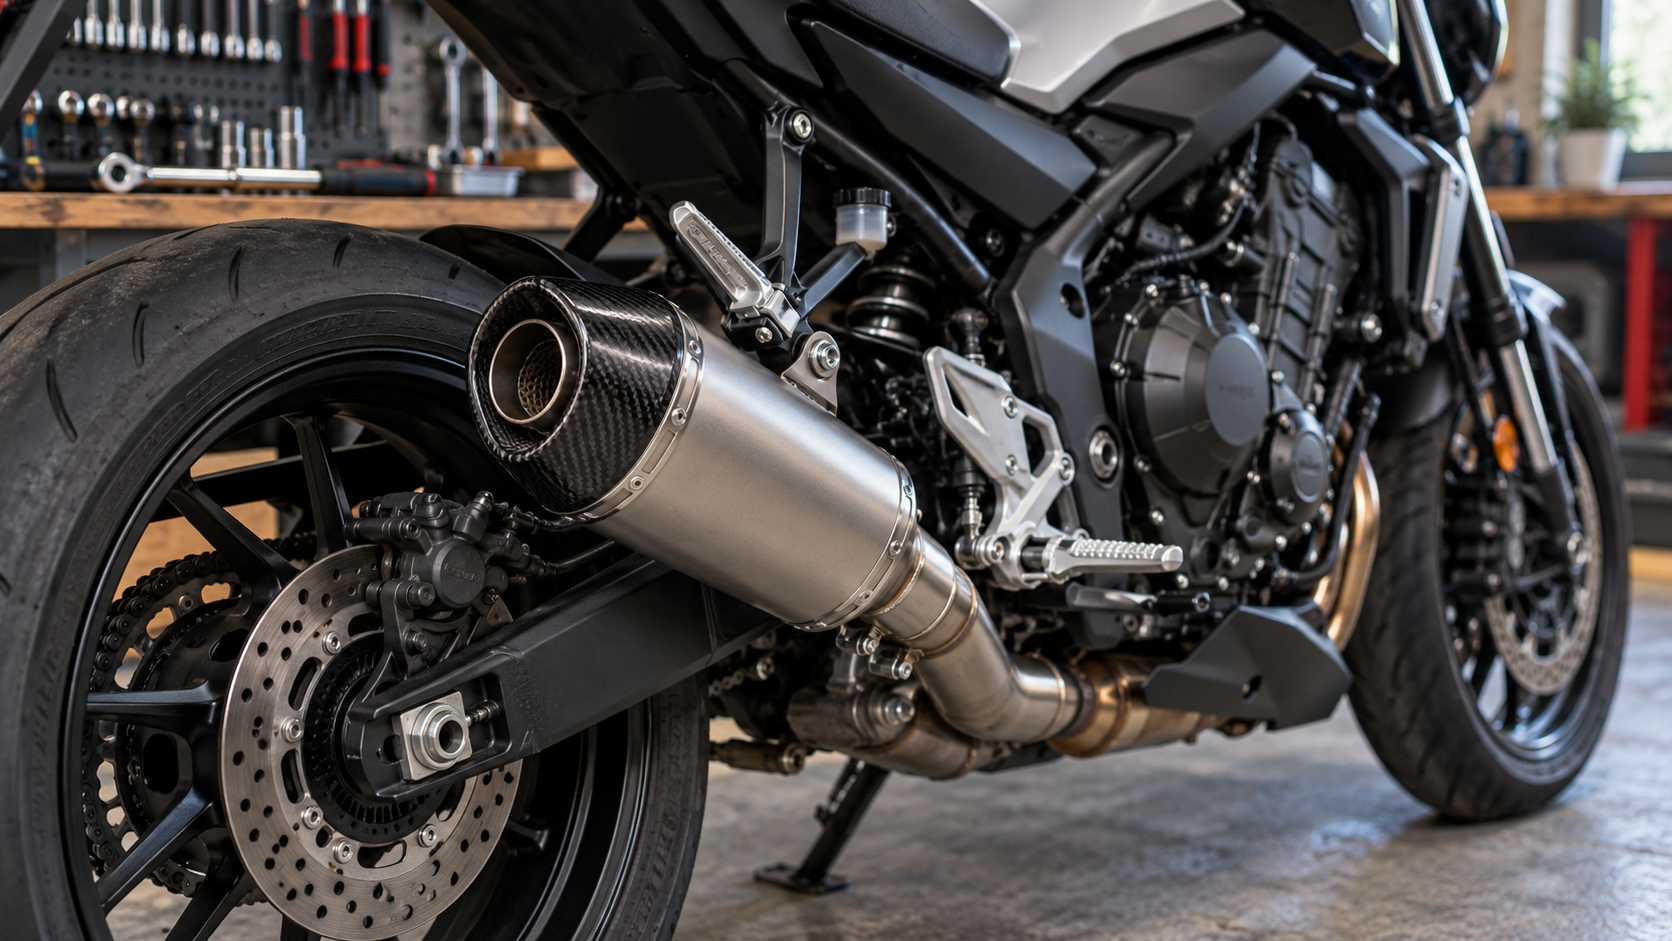
Once the bike is clean and protected, a slip-on exhaust can change the personality fast. You usually get less weight, better sound, and a more finished rear section.
Keep it sensible. A streetfighter should sound alive, not painful. If the bike needs a tune or fuel controller after exhaust work, budget for that before you buy.
🎯 Budget Build Order
For most riders, this is the smartest upgrade path:
- Tail tidy and signals
- Bar-end mirrors
- Frame sliders and radiator guard
- Adjustable levers and grips
- Slip-on exhaust
- Tank grips
- Lighting details or paint accents
Final Thoughts
The best budget builds look intentional. Pick a direction, buy parts that solve real problems, and keep the bike rideable at every stage.
You do not need to build the wildest machine in the car park. Build one that looks clean, feels better, and makes you want to ride it more.
🛒 Planning your first build?
Browse more naked bike and streetfighter ideas at IronRevs.com.
Comments