

⛓️ How to Clean, Lube, and Adjust Your Motorcycle Chain: Step by Step
A step-by-step guide to cleaning, lubing, and adjusting your motorcycle chain at home, plus how often to do it and when it is time for a new chain and sprockets.
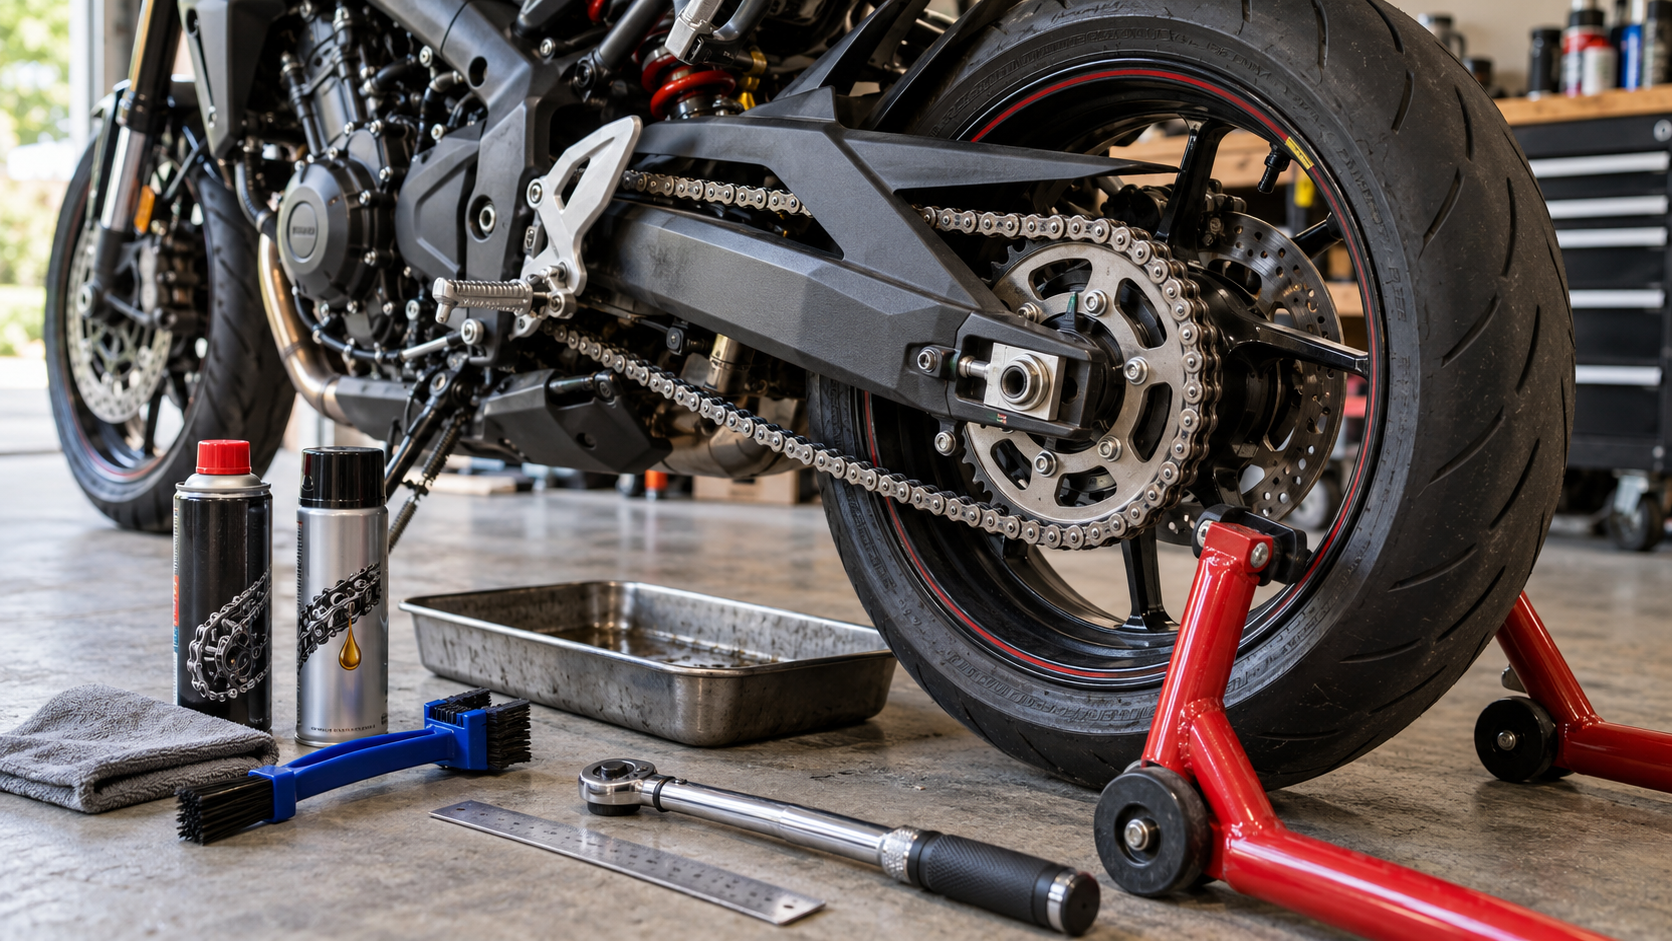
Your chain does a brutal job. It carries every bit of power from the engine to the rear wheel while being covered in road grime, water, and grit.
A well looked-after chain makes your bike smoother, quieter, and cheaper to run. A neglected one wears out sprockets, wastes power, and makes throttle response feel snatchy. The good news? Chain care is one of the easiest DIY jobs you can do.
🧰 What You Need
- Rear paddock stand (or a centre stand)
- Chain cleaner that is safe for O-ring, X-ring, or Z-ring chains
- Soft chain brush or a three-sided chain brush
- Chain lube (spray or wax)
- Rags and a drip tray
- Gloves
- Ruler or tape measure
- Correct size sockets and spanners for the axle and adjusters
- Torque wrench
🔗 Building your toolkit? Read 🛠️ Essential Motorcycle Tools for Your First Garage Setup
🧼 Step 1: Clean the Chain
- Put the bike on a rear stand so the rear wheel can spin freely.
- Turn the engine off. Never clean or lube a chain with the engine running and the bike in gear.
- Spray the chain cleaner on the lower run of the chain while turning the wheel by hand.
- Scrub with a soft brush. Work on all sides of the chain.
- Wipe it down with a clean rag until most of the grime is gone.
- Let it dry completely before you lube.
Avoid:
- Pressure washers aimed at the chain
- Wire brushes
- Petrol or harsh solvents that can damage the O-rings
🛢️ Step 2: Lube the Chain
The best time to lube is after a ride, when the chain is warm and the lube can penetrate.
- Spray lube on the inside of the lower chain run, aiming at the rollers and O-rings.
- Turn the wheel slowly by hand to cover the full length.
- Let it sit for at least 15 minutes, or ideally overnight, so the carrier can evaporate.
- Wipe off the excess so it does not fling onto your wheel and bodywork.
- Never spray lube near the tyre or brake disc.
📏 Step 3: Check the Slack
Chain slack is the up and down movement of the chain at the midpoint of the lower run.
- Set the bike up as your service manual says. Some manufacturers measure slack on the side stand, others on a paddock stand.
- Find the midpoint between the sprockets on the lower run.
- Push the chain up and down and measure the total movement.
- Rotate the wheel and check at several points. Chains can wear unevenly, so use the tightest spot for your measurement.
- Compare with the spec in your owner's manual or on the swingarm sticker.
Many naked bikes sit somewhere in the 25 to 50 mm range, but specs vary a lot. Always use your bike's figure.
🔧 Step 4: Adjust the Chain
If the slack is out of spec:
- Loosen the rear axle nut.
- Loosen the adjuster lock nuts on both sides of the swingarm.
- Turn both adjusters by the same amount to keep the wheel aligned. Use the alignment marks on the swingarm as a guide.
- Recheck the slack at the tightest point.
- Torque the axle nut to spec.
- Tighten the lock nuts.
- Recheck the slack again. It can change slightly as the axle is tightened.
⚠️ A chain that is too tight is worse than one that is slightly loose. It can damage the gearbox output shaft bearing, wheel bearings, and the chain itself.
⏱️ How Often Should You Do This?
| Riding Conditions | Clean & Lube Every |
|---|---|
| Dry, mostly highway | ~800 – 1,000 km |
| Mixed commuting | ~500 – 800 km |
| After rain or dirt roads | After every wet ride |
| Track day | Before and after |
Check the slack every couple of weeks or every few cleans. Your owner's manual has the final say.
🚩 When to Replace Chain and Sprockets
Replace the chain and both sprockets together if you see:
- Hooked or shark-fin sprocket teeth
- Tight spots that stay tight after lubing
- Rust or stiff links
- Missing or damaged O-rings
- The adjusters are at the end of their range
- You can pull the chain away from the rear sprocket and see a big chunk of the tooth
Fitting a new chain on worn sprockets, or the other way around, wears out the new parts much faster.
✅ Quick Chain Care Checklist
- Bike on a stand, engine off
- Clean with an O-ring-safe cleaner
- Dry completely
- Lube the inside of the chain
- Wipe off the excess
- Check slack at the tightest point
- Adjust evenly and torque the axle
Final Thoughts
Chain care takes about 20 minutes, and it is one of the best habits you can build as a rider. Your bike will feel smoother, your sprockets will last longer, and you will spot problems before they ruin a ride.
Get the stand, get the lube, and make it part of your routine.
⛓️ Want more garage routines? Read 🧰 DIY Motorcycle Maintenance Tips: Simple Checks Before Every Weekend Ride






Comments